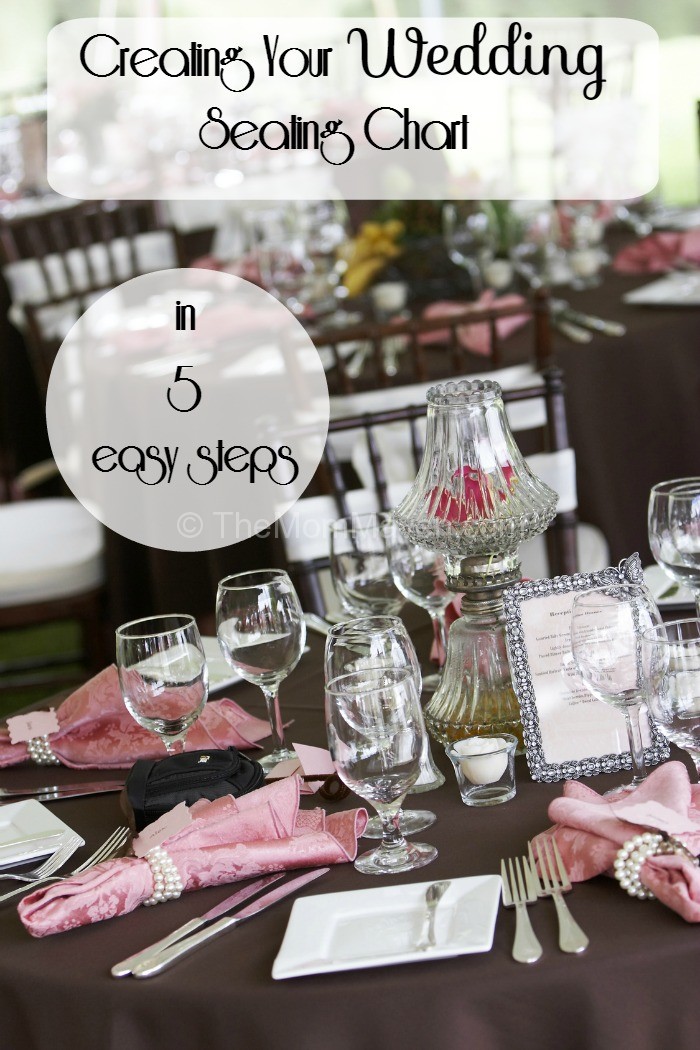
For many brides, creating the wedding seating chart is the most difficult and stressful part of wedding planning. It is also a task that really can’t be delegated because only you and your groom know your family dynamic and who should, or shouldn’t be seated near whom. The type-a planner/organizer in me LOVES helping brides with their seating plans but I can’t do it for you.
1. Reception Layout
According to some event planners before you even finalize your guest list, it is best to decide on your reception venue. If you have decided on a banquet room, for example, you should plan the room layout next. This will give you the numbers you need to know a) how many tables will I have and b) how many people can I seat comfortably. Armed with this information you can pare down your guest list to only the amount of people you know you can seat.
2. Start Early
Even though you can’t finalize your seating plan until after the RSVPs have rolled in, I find it much less stressful to start with a masterplan, knowing it will be edited while you go along.
3. Get Input
Ask you parents, the groom and his parents if there are any people who definitely shouldn’t be seated at the same table.
4. Where to start?
Start with the families first. Are all the parents going to sit together? Are you having a head table or a sweetheart table? Where is the bridal party sitting if you don’t have a head table? Once those questions are handled move on to other family and friend groups
5. Singles?
Where to seat your college roommate who knows no one at the reception except for you is always a tricky situation. If you have several single friends, whether they know each other or not a singles table can be a good idea. It is also fine to use single guests to fill up tables with one or two empty seats. Take into consideration who they will be sitting with and try to make the best matches as possible but don’t stress over it.
THE Tool to Help you Manage your Guest List & Seating Chart
If you search Pinterest for tools to help you create your seating chart you will find ideas spanning from index cards and sticky notes, to notebooks and spreadsheets. I am going to introduce you to my favorite, easy to use, FREE online tool…AllSeated.com. I discovered All Seated while doing some internet searches right after Aaron and Summer got engaged and it has been the best tool I have used in planning this wedding, and I’m not even using all of the features.
AllSeated can manage your guest list, RSVPs, meal choices, floor plan and seating plan all in one free convenient website. I love that with AllSeated you can design a custom room layout. You put in the room dimensions, table sizes etc so that your floor plan truly matches your room.
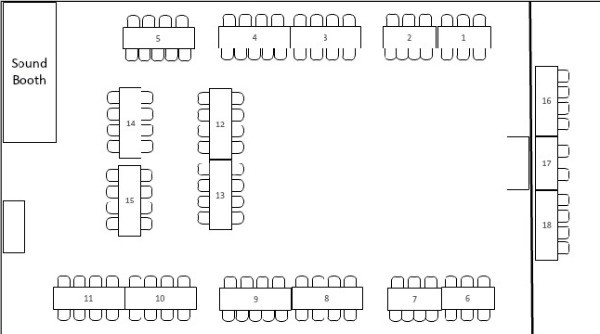
Once you have uploaded or created your guest list and created your floor plan you can use the simple drag-and-drop interface to seat your guests at their tables. Need to make a change? Double click on the table and move or remove the individual, couple or family. As our RSVPs have rolled in, I have removed people who will not be able to attend and I have moved people around and even added people as the bride replaces those who are unable to attend. Thankfully I can click on the pie chart looking tool at the top of the page and I get a colored floor plan. Red tables mean too many people are seated at them, Yellow means they are full and green means there is room for more-how easy is that?
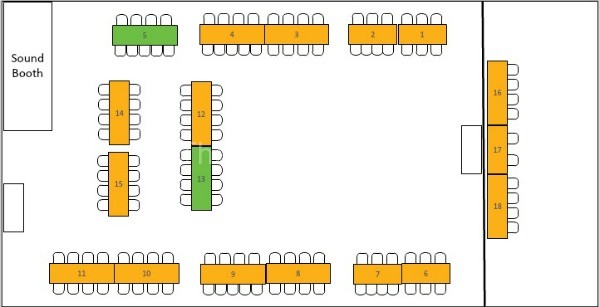
The only, minor downside I have found to AllSeated is that it doesn’t allow you to add a seat to the end of the tables. This is why some of my tables appear to have too many seats on one side, that person will be sitting on the end.
I hope you find these wedding seating chart tips helpful!


Leave a Reply