I know that you know that I LOVE Buffalo Chicken! So it was time to create a recipe for my Ninja Foodi! We love this Pressure Cooker Buffalo Chicken Pasta. It’s so easy to make and it’s ready in about 45 minutes! This recipe is similar to my Buffalo Chicken Casserole, so if you don’t have a Foodi, Instant Pot, or other pressure cooker, give that recipe a try.
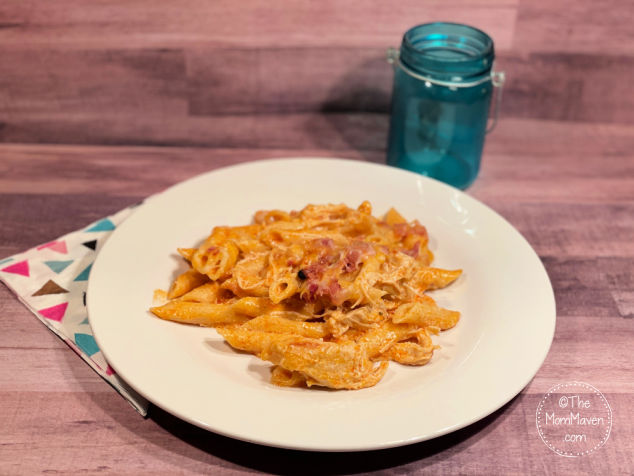
This recipe is great because, if you need to, you can use frozen chicken and it doesn’t change the cooking time! I love that about pressure cookers. I don’t know about you, but I often forget to defrost the meat. It can really mess up my meal timing.
Pressure Cooker Buffalo Chicken Pasta
Ingredients
- 1 pound boneless, skinless chicken breast
- 1 cup Buffalo wing sauce, with a little extra to drizzle over completed dish
- 4 tsp butter sliced into pats
- 3 cups water, divided
- 16oz pasta, I use pene
- 8oz cream cheese cut into chunks
- 1 cup Ranch dressing
- 6oz shredded Mexican cheese blend
- 3oz real bacon bits
Instructions
- Place the chicken in the bottom of the pressure cooker.
- Pour the Buffalo wing sauce and 1 cup of water over top of the chicken.
- Place the pats of butter on top.
- Place the lid on the pressure cooker. Set to high pressure for 14 minutes.
- Once the cooking time is over, do a quick release, about 2 minutes.
- Remove the chicken to a plate and shred it.
- Add the uncooked pasta to the pressure cooker.
- Next add the shredded chicken, followed by the cream cheese and Ranch dressing.
- Add the remaining 2 cups of water, don’t stir.
- Replace the lid and set to high pressure for 4 minutes.
- When the cooking time is done, do a quick release.
- Stir the contents with a wooden spoon to combine the ingredients.
- Top with the cheese and bacon bits.
- If you have a Foodi, use the crisper lid and air crisp at 400° F for 1-2 minutes to melt the cheese.
- Serve and drizzle Ranch dressing over the dish.
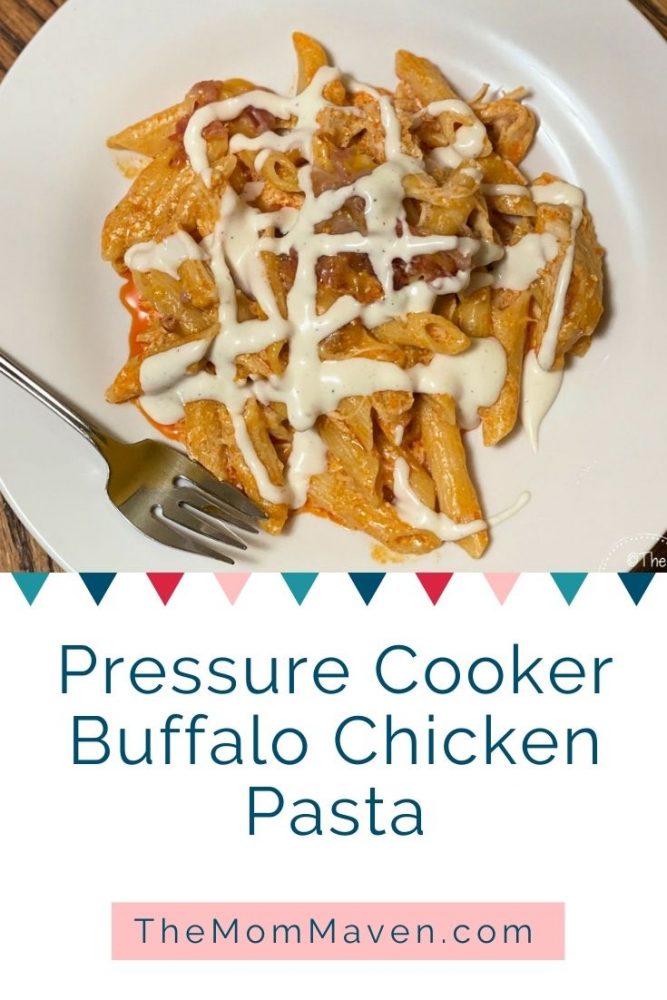
This easy and flavorful one pot pressure cooker meal is a favorite in our family. It only takes about 45 minutes to make this Pressure Cooker Buffalo Chicken Pasta recipe.
- 1 lb chicken breast boneless, skinless
- 1 cup Buffalo Wing Sauce I use Frank's
- 4 teaspoons butter sliced into pats
- 3 cups water divided
- 16 oz pasta I use pene but elbows or medium shells would work too
- 8 oz cream cheese cut into chunks
- 1 cup Ranch dressing have extra to drizzle over each serving if desired
- 6 oz shredded Mexican cheese blend
- 3 oz real bacon bits
Place the chicken in the bottom of the pressure cooker.
Pour the Buffalo wing sauce and 1 cup of water over top of the chicken.
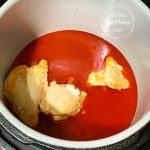
Place the pats of butter on top.
Place the lid on the pressure cooker. Set to high pressure for 14 minutes.
Once the cooking time is over, do a quick release, about 2 minutes.
Remove the chicken to a plate and shred it.
Add the uncooked pasta to the pressure cooker.
Next add the shredded chicken, followed by the cream cheese and Ranch dressing.
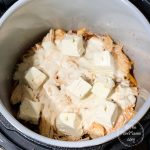
Add the remaining 2 cups of water, don't stir.
Replace the lid and set to high pressure for 4 minutes.
When the cooking time is done, do a quick release.
Stir the contents with a wooden spoon to combine the ingredients.
Top with the cheese and bacon bits.
If you have a Foodi, use the crisper lid and air crisp at 400° F for 1-2 minutes to melt the cheese.
Serve and drizzle Ranch dressing over each serving if desired
- Chicken can be fresh or frozen.
- Water is divided 1 cup and 2 cups
- You can cook and chop 3 slices of bacon instead of using real bacon bits.
- It takes about 10 minutes for the pressure cooker to reach pressure before it starts cooking.
- It takes about 2 minutes to do a quick pressure release.
I’ve been using my Foodi more and more lately and I love it! I make a lot of one pot meals, which means easier clean up! So far I’ve shared my 3 Envelope Pressure Cooker Roast, Simple Spicy Ranch Chicken-Air Fryer, and Pressure Cooker Barbecue Chicken, so make sure you try those as well.

I hope you enjoy this Pressure Cooker Buffalo Chicken Pasta recipe and all of the easy recipes I share here on The Mom Maven. Please share them on your social networks. I just ask that you not copy and share the entire recipe with photos. Please use the sharing buttons below and share the link to this post. Thanks!


Leave a Reply