We all know I love the combination of chocolate and peppermint and that I drink hot cocoa almost daily, it was just a matter of time before I merged these loves into a dessert. I’ve shared my Hot Cocoa Cookies, Hot Cocoa Fudge, and even my Hot Cocoa Mix with Candy Cane Marshmallows before so it is time for my Peppermint Hot Cocoa Cake recipe.
My Peppermint Hot Cocoa Cake recipe is a poke cake that starts with a box cake mix, this makes it so easy to create. The tricky part of this cake is working with the Marshmallow Fluff, I like to use a piping bag, or zippy bag with the end cut off to pipe the Marshmallow Fluff. When it comes to crushing candy canes I like to pop them in my Nutri Ninja and 2 pulses later, I have crushed candy canes!
Peppermint Hot Cocoa Cake Recipe
Ingredients
- 1 18.25 oz chocolate cake mix plus eggs and oil as required on the box
- 8 oz Marshmallow Fluff
- 1.5 TBS water
- 6 candy canes
- 8 oz Cool Whip
- 5 TBS Nesquik Chocolate
Peppermint Hot Cocoa Cake Instructions
- Preheat oven according to the cake package requirements. Grease a 9×13″ pan.
- Prepare the chocolate cake mix as directed on the box.
- Once the cake is baked, let it cool 10 minutes in the pan before turning it out onto your cake board or serving plate.
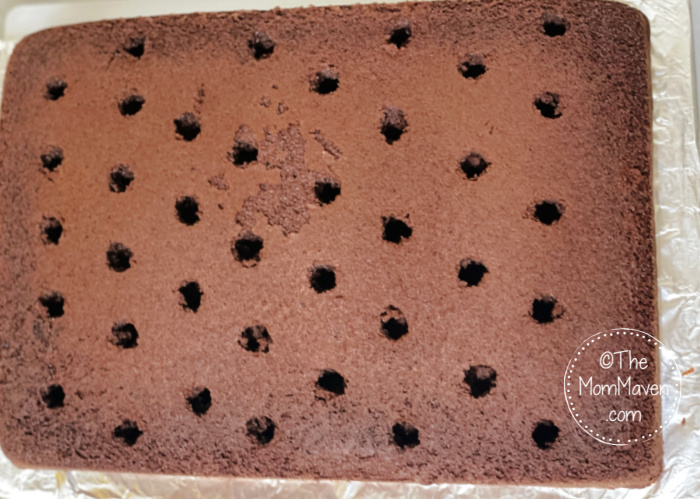
- Use the handle of a wooden spoon to poke holes in the cake.
- In a microwave safe bowl, microwave the Marshmallow Fluff and water for about 10 seconds then stir until smooth.
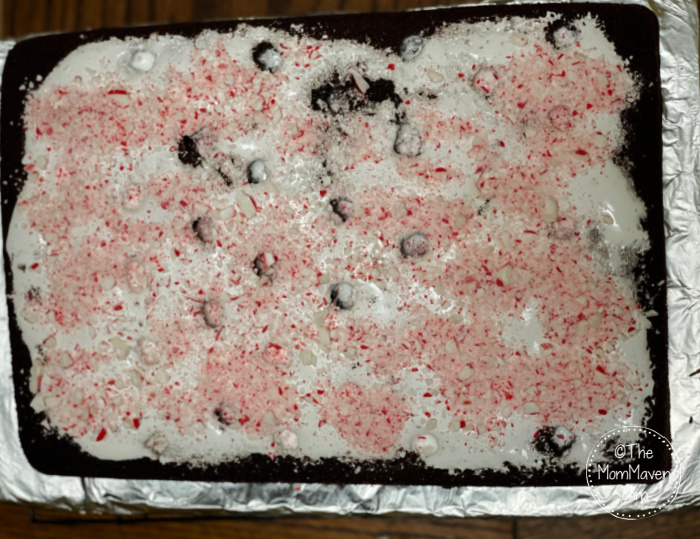
- Pour the marshmallow mixture into a piping bag or a zippy bag. Cut off the tip of the bag and pipe the marshmallow into the holes. Once the holes are filled, pipe the rest of the marshmallow over the top of the cake and spread out with an offset spatula.
- Remove the plastic from your candy canes and crush them up either in a blender or food processor or by placing them in a zippy bag wrapped in a kitchen towel and beating them with a mallet or rolling pin until crushed.
- Sprinkle the candy cane pieces over the marshmallow layer.
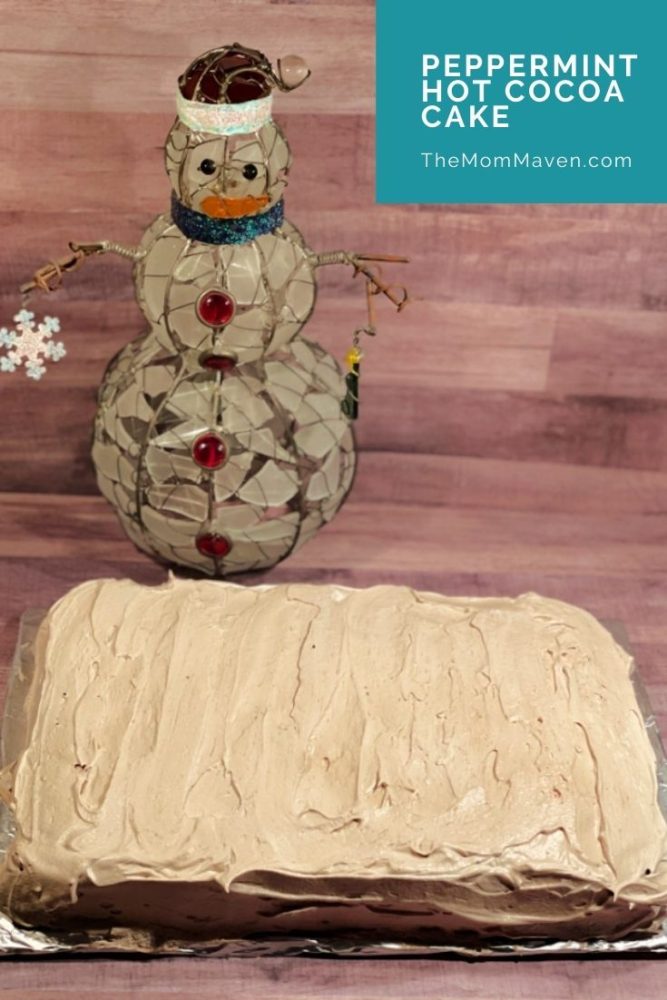
- In a large bowl, mix together the Cool Whip and Nesquik to make a chocolate whipped cream.
- Cover the cake with the whipped cream.
- Decorate as desired.
- Keep the cake refrigerated til serving.
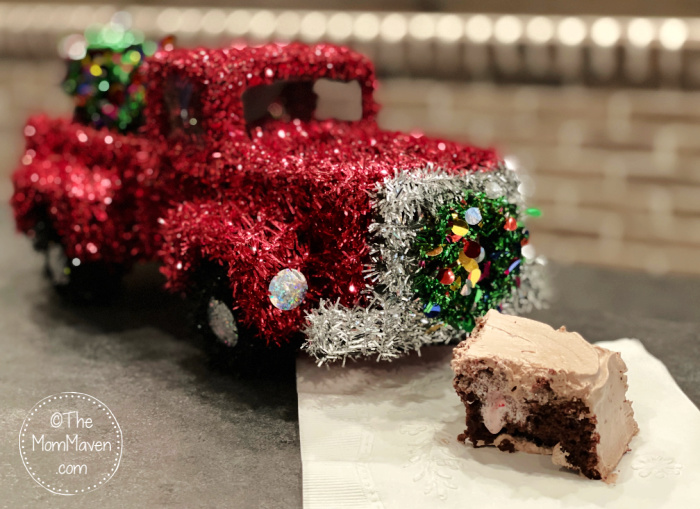
I brought this cake to church on the last night of our semester and my girls loved it! It has just the right amount of peppermint flavor without overpowering the bite. I also served it to Savannah when she came over to hang out. She isn’t a cake person, but she really enjoyed it as well.

Chocolate, peppermint, and marshmallow combine to make a delicious and easy Peppermint Hot Cocoa poke cake for your Christmas celebration.
- 1 18.25 oz chocolate cake mix plus eggs and oil as required on the box
- 8 oz Marshmallow Fluff
- 1.5 TBS water
- 6 candy canes
- 8 oz Cool Whip
- 5 TBS Nesquik Chocolate
Preheat oven according to the cake package requirements.
Grease a 9×13" pan.
Prepare the chocolate cake mix as directed on the box.
Once the cake is baked, let it cool 10 minutes in the pan before turning it out onto your cake board or serving plate.
Use the handle of a wooden spoon to poke holes in the cake.
In a microwave safe bowl, microwave the Marshmallow Fluff and water for about 10 seconds then stir until smooth.
Pour the marshmallow mixture into a piping bag or a zippy bag. Cut off the tip of the bag and pipe the marshmallow into the holes. Once the holes are filled, pipe the rest of the marshmallow over the top of the cake and spread out with an offset spatula.
Remove the plastic from your candy canes and crush them up either in a blender or food processor or by placing them in a zippy bag wrapped in a kitchen towel and beating them with a mallet or rolling pin until crushed.
Sprinkle the candy cane pieces over the marshmallow layer.
In a large bowl, mix together the Cool Whip and Nesquik to make a chocolate whipped cream.
Cover the cake with the whipped cream.
Decorate as desired.
Keep the cake refrigerated til serving.
I hope you enjoy this Peppermint Hot Cocoa Cake recipe and all of the easy recipes I share here on The Mom Maven. Please share them on your social networks. I just ask that you not copy and share the entire recipe with photos. Please use the sharing buttons below and share the link to this post. Thanks!


Leave a Reply