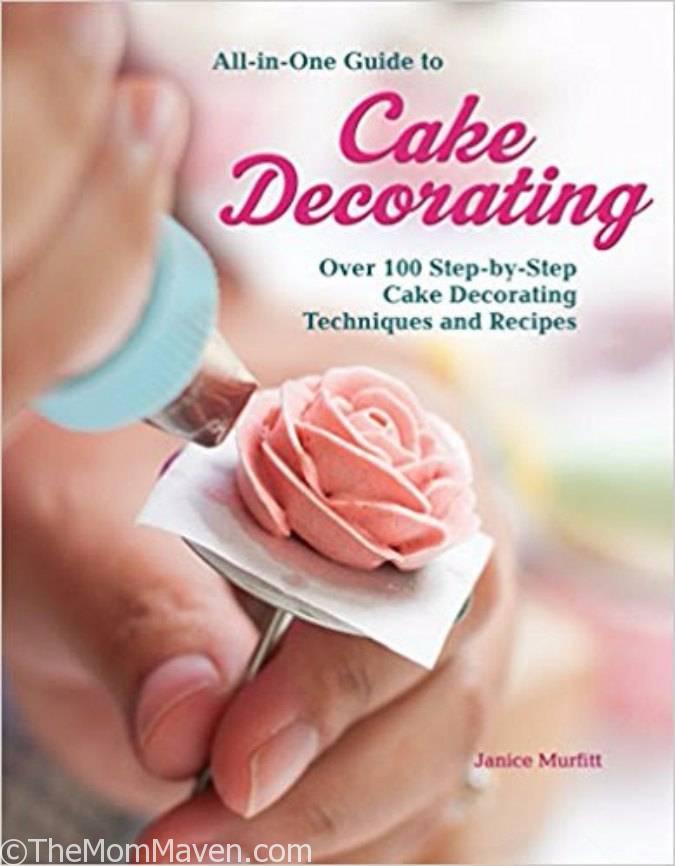
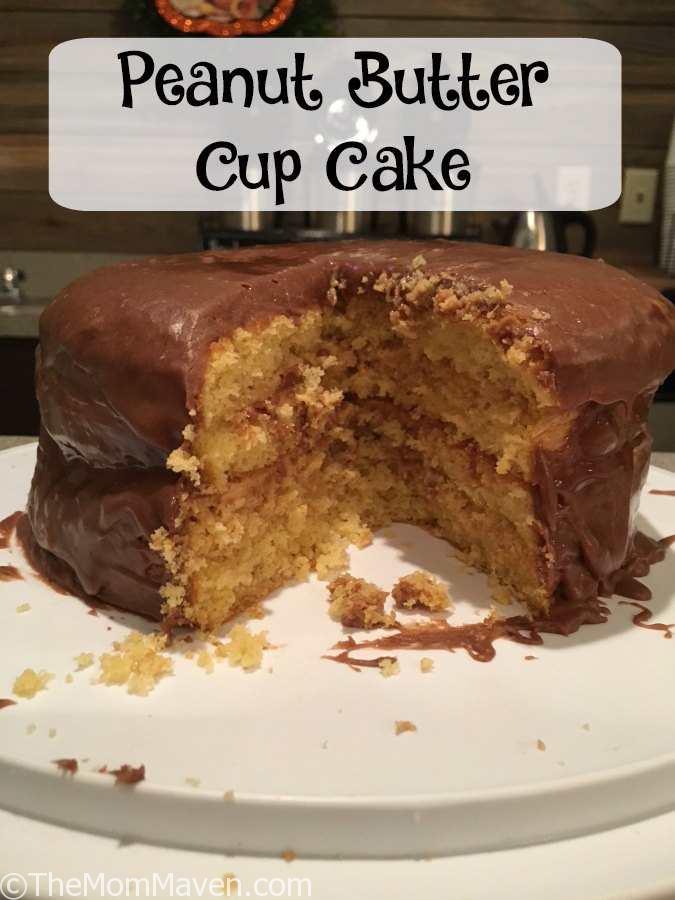
I am a wanna be cake decorator. For years I have dreamed of taking a cake decorating class. Unfortunately, every time I have the money, the classes offered locally don’t fit my schedule. My mom took cake decorating classes when I was young. She always did a good job decorating cakes for our special occasions. She taught me a little about decorating cakes but I am definitely still at novice level. I recently received a copy of the book All-In-One Guide to Cake Decorating: Over 100 Step-by-Step Cake Decorating Techniques and Recipes by Janice Murfitt. I’ll be honest, this book scared me, it is not for the novice cake decorator, it is for the intermediate to advanced student who owns cake decorating tools. I decided for me the best thing for me to try first were making a layer cake with filling between the layers and an icing glaze, this became my Peanut Butter Cup Cake.
About the All-In-One Guide to Cake Decorating
This comprehensive and accessible guide to cake decorating teaches all of the techniques and tricks that aspiring sugarcrafters need to create stunning and impressive cakes. Everyone will think these amazing cakes came from the best bakery in town! First Steps in Cake Decorating reveals dozens of expert cake decorating ideas that are simple to achieve yet look stunning. All the most popular methods of icing and decoration are covered, including buttercream, sugarpaste, chocolate, marzipan and flower paste. Detailed, easy-to-follow instructions explain the basics of preparing and using different types of icing, illustrated with step-by-step color photographs. There is a delicious array of fantastic cakes here to suit adults and children alike. Beginners will pick up the basics fast, and even experienced cake decorators will find inspirational new ideas.
Mom Maven’s Thoughts
This book is well written and beautifully illustrated, it is just too advanced for my skill set. My skills didn’t take me past chapter 2-Shaping, Filling, and Simple Icings, but thanks to this book I did try some new-to-me techniques. While my cake isn’t beautiful, I tried and I know some of the mistakes I made and what I need to work on in the future. This book will stay on my shelf until I get to take some cake decorating classes. It is a wonderful reference and instruction manual for those who are further along in their cake decorating journey.

- 1 Box of Yellow Cake Mix I used Duncan Hines
- eggs water, and oil as listed on the box
- 1 cup smooth peanut butter
- 2 cups confectioner's sugar divided
- 1 TBS vanilla extract
- 3/4 cup heavy cream divided
- 4 squares semi-sweet chocolate
- 1/4 cup unsalted butter
- 1 egg beaten, 1 1/2 cups confectioner's sugar
- Bake the cake according to the directions on the package.
- Make 2 8" round cakes.
- Cool cakes in pans on cooling rack for 15 minutes.
- Remove cakes from pans and place on cooling rack, allow to cool completely. (At least 45 minutes)
- In a large bowl mix together the peanut butter and 1 cup of confectioner's sugar.
- Add in the second cup of confectioner's sugar, it will become crumbly.
- Add in the vanilla and 1/4 cup of the heavy cream.
- Once that is fully incorporated and another 1/4 cup of heavy cream. Mix until smooth.
- Slowly add in the remaining heavy cream until it becomes the consistency you want it to be.
- If your cake isn't flat on top, carefully slice off the domes portion so that your layers will stack evenly.
- Use a turntable and a long, sharp knife to cut each cake into two even layers
- Place the bottom layer in the center of the plate or cake board.
- Cover that layer with a layer of the peanut butter filling.
- Repeat the layering process, making sure your layers are even, until all four cakes are layered and there is peanut butter between the layers. DO NOT put peanut butter on the top layer.
- Place the chocolate and butter in a heatproof bowl set over a saucepan of hot water. Stir occasionally with a wooden spoon until melted.
- Add the egg and beat until smooth. Remove the bowl from the saucepan. Stir in the confectioner's sugar and beat until smooth and glossy.
- Pour immediately over the cake for a smooth finish. You may need to use a knife or the back of a spoon to help coat the sides with the icing.
I brought this cake to church on Wednesday evening to share with the 3rd-5th grade girls I teach. Since we only had 6 girls in class that night there was a lot of leftover cake. I sliced it up and handed pieces to friends as they walked by. Everyone loved this delicious Peanut Butter Cup cake. It is light and not too sweet because we used a yellow cake as the base. I hope you enjoy this recipe and all of the easy recipes I share here on The Mom Maven. I hope you share them on your social networks. I just ask that you not copy and share the entire recipe with photos. Please use the sharing buttons below and share the link to this post. Thanks!


I love your cake !! This is a really pretty !! very nice settings and the cake looks delicious !! Continue sharing.
Very well made !! This sounds delicious !! Thank you for making !! Going to make these soon !!