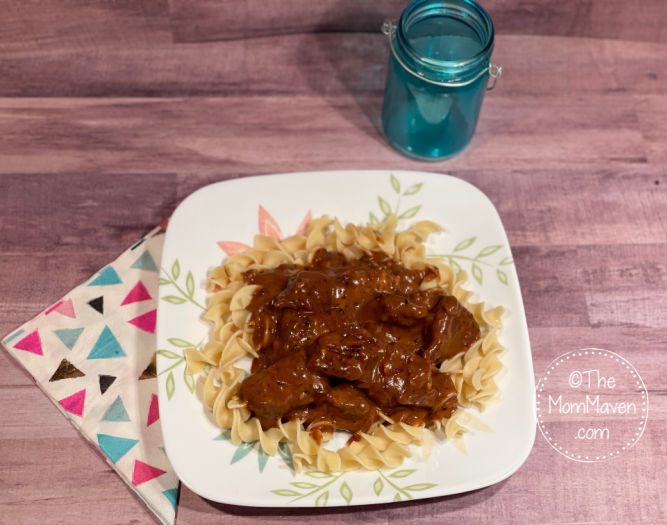
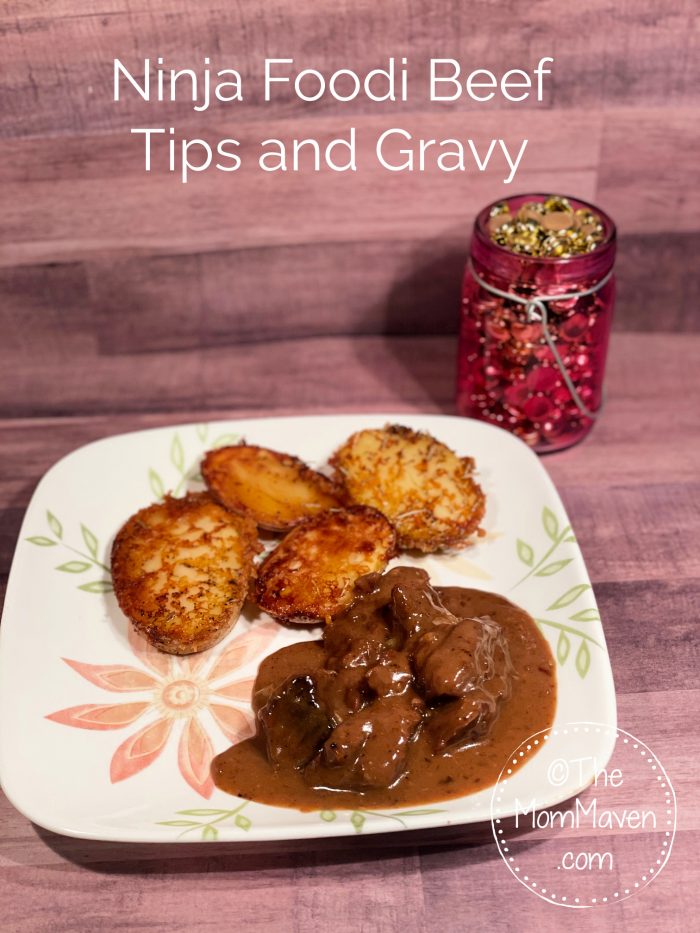
This Ninja Foodi Beef Tips and Gravy recipe has become an instant favorite in our house. It’s delicious, versatile, and pretty easy to make. I’ve served it with my Crispy Parmesan Potatoes and with egg noodles. Next time I’m going to serve it over rice. I love how easy it is to change it up depending on what you have in the pantry.

I am going to give you the full recipe which feeds 4-6 people, I usually cut it in half because there are only two of us at home.
Ninja Foodi Beef Tips and Gravy
Ingredients
- 2 lbs beef tips or stew beef
- 1 tsp black pepper
- 2 pkgs low sodium brown gravy mix
- 2 cups beef broth
- 2 TBS canola oil
- 2 tsp onion powder
- 2 tsp minced garlic
- 2 tsp A-1 sauce
- 1 pkg dry onion soup mix
- 2 TBS water
- 3 TBS corn starch
Ninja Foodi Beef Tips and Gravy Instructions
- In a large bowl mix together the beef broth and the gravy packets. Set aside.
- Sprinkle the pepper on the beef tips. Set aside.
- Turn the ninja Foodi to sear/saute and add oil. Next add the beef tips and cook until brown on all sides, 4-5 minutes.
- Sprinkle the onion powder over the beef tips and cook another 3-4 minutes.
- Add the minced garlic, cook for an additional 30 seconds and then turn the saute function off.
- Add the A-1 sauce and the onion soup mix into the Foodi and then pour the gravy mixture over everything.
- Pot the pressure cooker lid on the Foodi and set it to Pressure and cook on high for 25 minutes. (It will take about 10 minutes to reach pressure before it starts cooking)
- When it’s done cooking, set a timer for 20 minutes. Do not touch the Foodi during this time. Let the pressure naturally release.
- When your timer goes off, open the vent to let any additional pressure to release before removing the lid.
- Stir the contents of the pot with a wooden spoon.
- In a small bowl mix together 2 TBS of water and 3 TBS of corn starch to thicken the gravy. Continue adding little bits of water until it reaches a smooth consistency. This is called a slurry.
- Add the slurry to the Foodi and stir it in really well.
- Let it sit for 5 minutes so the gravy can thicken and then serve.


This easy, delicious and versatile recipe for making Beef Tips and Gravy in your Ninja Foodi will be a wonderful addition to your meal plan rotation.
- 2 lbs beef tips or stew beef
- 1 tsp black pepper
- 2 pkgs low sodium brown gravy mix
- 2 cups beef broth
- 2 TBS canola oil
- 2 tsp onion powder
- 2 tsp minced garlic
- 2 tsp A-1 sauce
- 1 pkg dry onion soup mix
- 2 TBS water
- 3 TBS corn starch
In a large bowl mix together the beef broth and the gravy packets. Set aside.
Sprinkle the pepper on the beef tips. Set aside.
Turn the ninja Foodi to sear/saute and add oil. Next add the beef tips and cook until brown on all sides, 4-5 minutes.
Sprinkle the onion powder over the beef tips and cook another 3-4 minutes.
Add the minced garlic, cook for an additional 30 seconds and then turn the saute function off.
Add the A-1 sauce and the onion soup mix into the Foodi and then pour the gravy mixture over everything.
Pot the pressure cooker lid on the Foodi and set it to Pressure and cook on high for 25 minutes. (It will take about 10 minutes to reach pressure before it starts cooking)
When it's done cooking, set a timer for 20 minutes. Do not touch the Foodi during this time. Let the pressure naturally release.
When your timer goes off, open the vent to let any additional pressure to release before removing the lid.
Stir the contents of the pot with a wooden spoon.
In a small bowl mix together 2 TBS of water and 3 TBS of corn starch to thicken the gravy. Continue adding little bits of water until it reaches a smooth consistency. This is called a slurry.
Add the slurry to the Foodi and stir it in really well.
Let it sit for 5 minutes so the gravy can thicken and then serve.
I hope you enjoy this Ninja Foodi Beef Tips and Gravy recipe and all of the easy recipes I share here on The Mom Maven. Please share them on your social networks. I just ask that you not copy and share the entire recipe with photos. Please use the sharing buttons below and share the link to this post. Thanks!


Leave a Reply