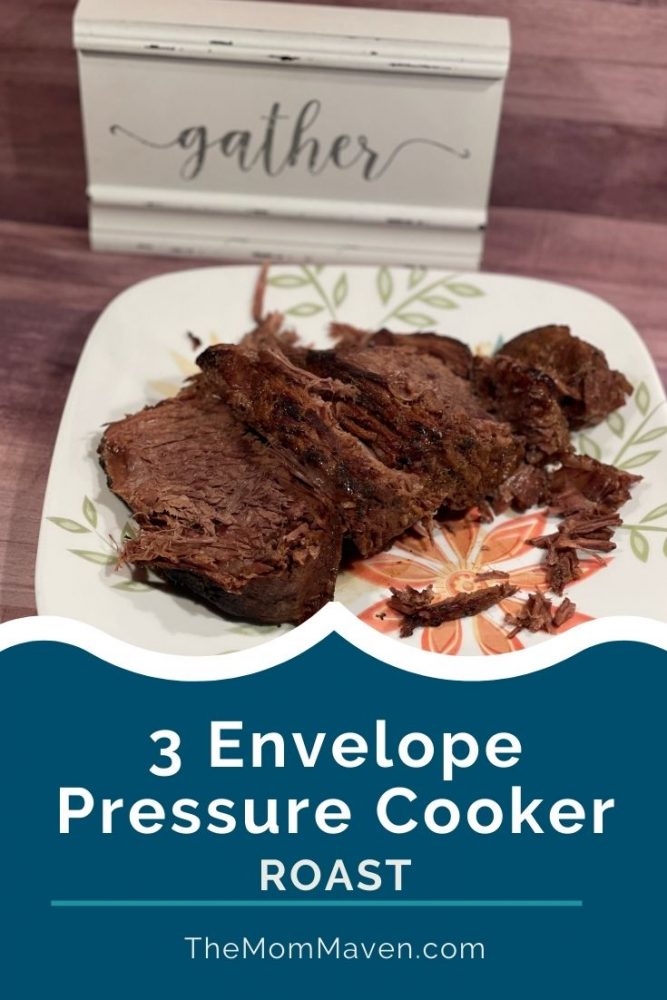
Hello! Yes, it is mid-May and I am finally back to posting recipes. It has been a very trying several months for our family but I am getting back in the swing again. I love creating recipes and sharing them with you. The process can be very time consuming and with all the changes and loss going on in our life, I had to let recipes go for a season. Thankfully, the end of this season is near and if you have an electric pressure cooker, I think you are going to love this 3 Envelope Pressure Cooker Roast.
Yes, I’m starting off with a super simple recipe. It is an adaptation of my 3 Envelope Crockpot Roast, which is a family favorite. Way back on Black Friday I bought myself a Ninja Foodi Pressure Cooker! This is my first pressure cooker. I have borrowed my daughter-in-law’s Instant Pot once but I never owned one. Here it is 6 months later and I am using my Foodi more and more.

A few months ago, when I was planning to make my 3 Envelope Roast in the crockpot as normal I thought, “I should be able to do this in my Foodi in a lot less time.” I was right! It took a little trial and error to get it perfect but I now make this roast in my pressure cooker every time! I will tell you up front, this roast can be a little salty. If you need to watch your sodium I suggest getting the low sodium brown gravy packet, that is what I usually do, but it has been difficult to find in these odd Covid times we are living in.
3 Envelope Pressure Cooker Roast Recipe
Ingredients
- 3-4 lb beef roast
- 1 envelope Ranch Dressing Mix
- 1 envelope Italian Dressing Mix
- 1 envelope Brown Gravy mix
- 1 TBS Canola Oil
- 1 cup Water
- 1 TBS Corn Starch
- 1.5 TBS Cold Water
3 Envelope Pressure Cooker Roast Instructions
- Place the cooking pot in your Foodi and set it to Sear/Saute.
- While it is heating up, in a small bowl, mix together the contents of the 3 envelopes.
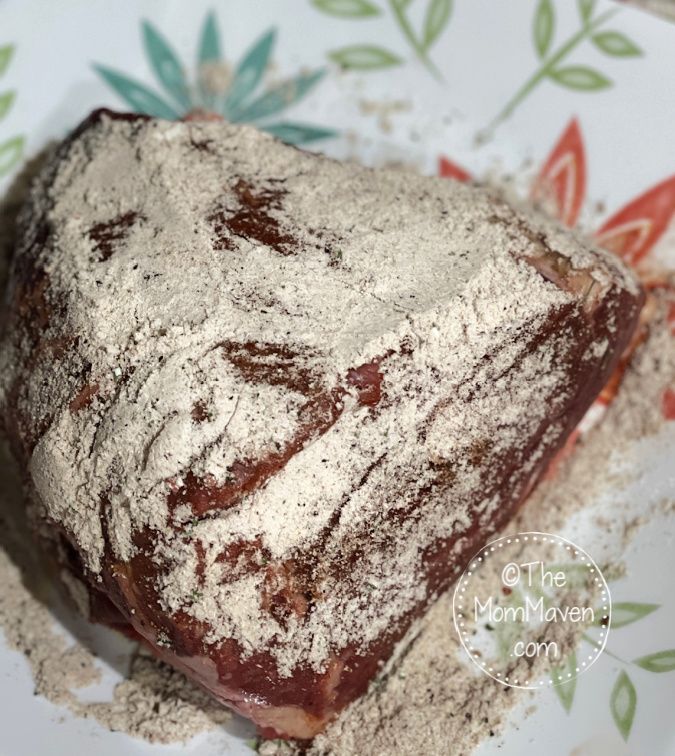
- Rub the dry mix all over the roast.

- Put the oil in the cooking pot and then add the roast. Sear the roast on each side.
- Change the Foodi to pressure. Pour the water over the roast. Put the Pressure lid on and make sure the pressure valve is in the sealed position.
- Set the pressure to High and the time to 90 minutes.
- When the roast is done, allow it to do a natural pressure release for 15 minutes before manually releasing the pressure.
- Remove the roast from the cooking pot and place it on a serving tray.
- Switch the Foodi to Sear/Saute. In a small bowl, mix together the corn starch and cold water. Add this mixture to the roast juices and stir to mix with a wooden spoon.
- Allow the gravy to thicken for 2-3 minutes.
- Serve the roast and gravy with your favorite potatoes and veggies


Easy and delicious, this 3 Envelope Pressure Cooker Roast is a perfect addition to any busy family's meal plan.
- 3-4 lb beef roast
- 1 envelope Ranch Dressing Mix
- 1 envelope Italian Dressing Mix
- 1 envelope Brown Gravy mix
- 1 TBS Canola Oil
- 1 cup Water
- 1 TBS Corn Starch
- 1.5 TBS Cold Water
Place the cooking pot in your Foodi and set it to Sear/Saute.
While it is heating up, in a small bowl, mix together the contents of the 3 envelopes.
Rub the dry mix all over the roast.
Put the oil in the cooking pot and then add the roast. Sear the roast on each side.
Change the Foodi to pressure. Pour the water over the roast. Put the Pressure lid on and make sure the pressure valve is in the sealed position.
Set the pressure to High and the time to 90 minutes.
When the roast is done, allow it to do a natural pressure release for 15 minutes before manually releasing the pressure.
Remove the roast from the cooking pot and place it on a serving tray.
Switch the Foodi to Sear/Saute. In a small bowl, mix together the corn starch and cold water. Add this mixture to the roast juices and stir to mix with a wooden spoon.
Allow the gravy to thicken for 2-3 minutes.
Serve the roast and gravy with your favorite potatoes and veggies
The time for each pressure cooker to pressurize and naturally release pressure varies.
I hope you enjoy this 3 Envelope Pressure Cooker Roast recipe and all of the easy recipes I share here on The Mom Maven. Please share them on your social networks. I just ask that you not copy and share the entire recipe with photos. Please use the sharing buttons below and share the link to this post. Thanks!


Leave a Reply